
Why New Roof Installation is Essential for Your Home’s Protection
New roof installation is one of the most significant investments you can make in your home’s future. Whether you’re dealing with storm damage, an aging roof that’s reached the end of its lifespan, or building new construction, a properly installed roof system protects everything underneath it.
Quick Answer for New Roof Installation:
- Assessment – Evaluate current roof condition and determine replacement needs
- Planning – Choose materials, obtain permits, and schedule installation
- Preparation – Clear property, protect landscaping, and prep the work area
- Installation Process:
- Remove old roofing materials
- Inspect and repair roof decking
- Install underlayment and flashing
- Install new roofing material
- Add ventilation systems
- Cleanup – Remove debris and conduct final inspection
- Timeline – Typically 1-3 days for most residential roofs
The average roof lasts between 20 and 25 years, according to industry data. When that time comes, or when severe weather damages your current roof, a complete replacement becomes necessary to maintain your home’s protection and value.
Professional installation is crucial – improper nailing alone is the leading cause of roof failures during storms. That’s why understanding the process and working with qualified contractors makes all the difference in getting a roof that will protect your family for decades to come.
This comprehensive guide walks you through everything you need to know about the new roof installation process, from recognizing when it’s time for replacement to understanding costs and choosing the right materials for your specific needs.

Is It Time for a Roof Replacement? Key Signs to Look For
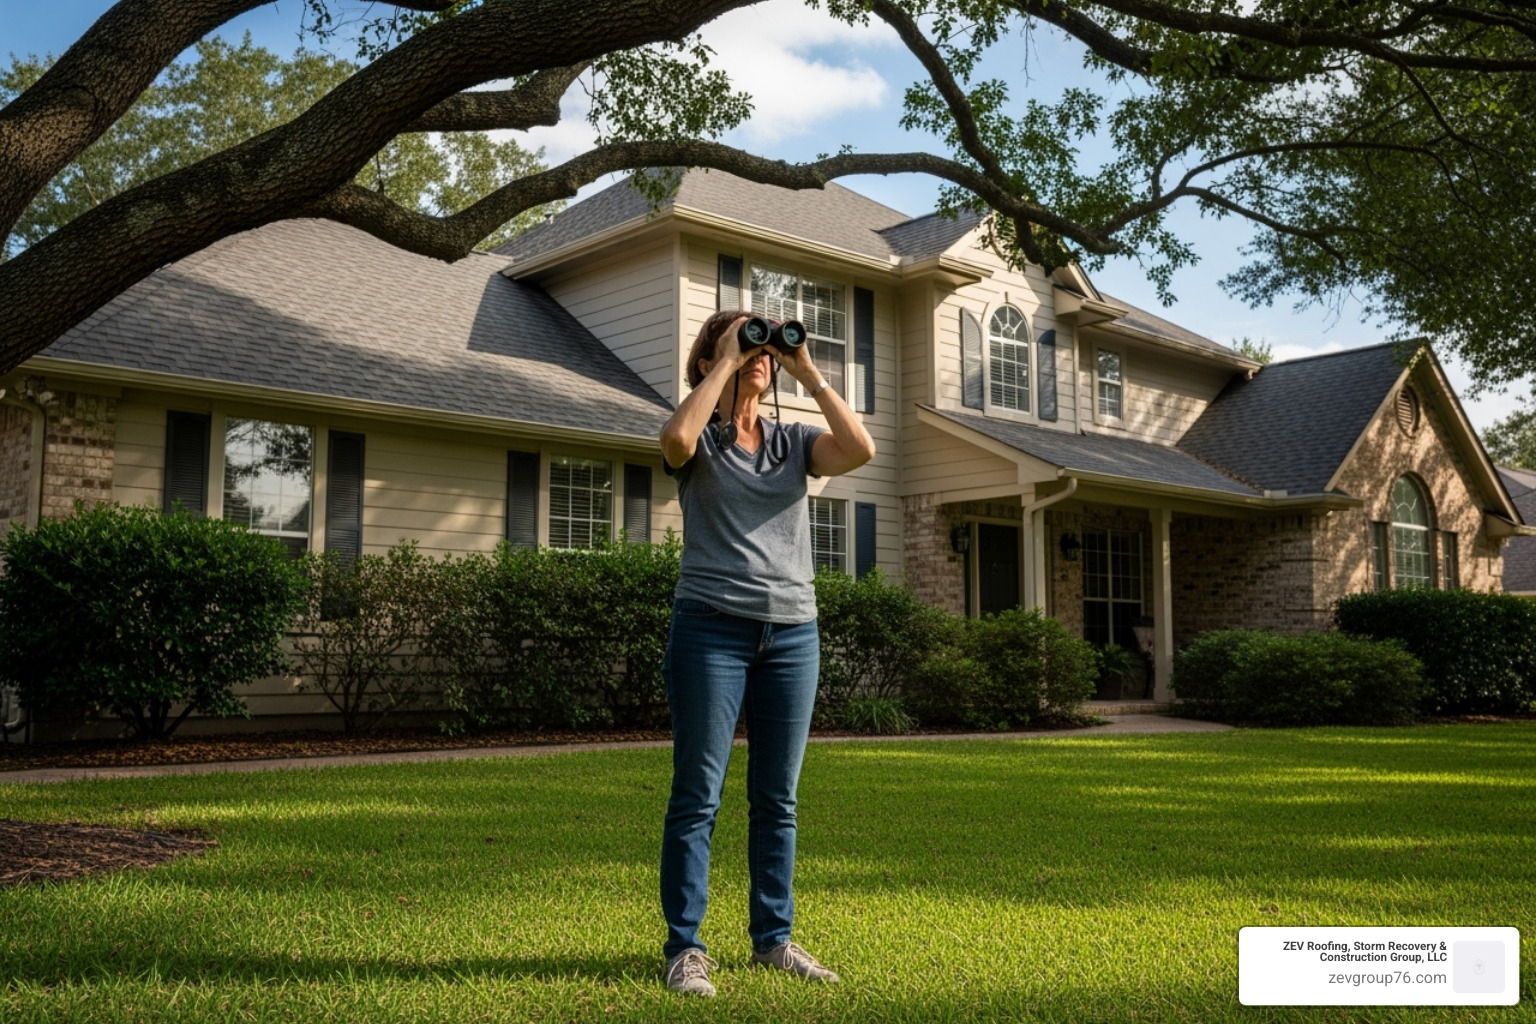
Knowing when to replace your roof can save you from costly water damage and emergency repairs. Roof age is your first clue; most asphalt shingle roofs have an average lifespan of 20 to 25 years. If your roof is approaching this age, it’s time to start planning for a replacement.
However, age isn’t the only factor. Look for these key signs during your regular home inspections:
Shingle Damage: Look for missing shingles after storms. Also, check for curling shingles, where edges curl up, or shingles that are brittle. Finding excessive sand-like granules in your gutters is another sign that your shingles are deteriorating.
Growth and Structural Issues: Dark streaks on your roof indicate algae or moss, which can shorten your roof’s lifespan, a common issue in humid climates like Texas. A sagging roof deck is a more serious warning sign of structural damage, often from prolonged moisture, and requires immediate attention.
Moisture Problems: Water leaks are an urgent signal for a new roof installation. Don’t ignore water stains on ceilings. Similarly, if your attic feels humid or smells musty, poor ventilation may be trapping moisture, leading to mold and rot.
While you can spot many signs from the ground, the importance of hiring a qualified, local roofing professional is paramount. A professional inspection can uncover hidden damage to flashing or the underlying structure. Roofers in Texas and New Mexico understand local building codes and weather patterns, helping you decide between a full roof replacement and targeted repairs. Catching problems early allows you to plan for a replacement on your terms, not during an emergency.
Preparing Your Home and Property for a New Roof Installation

Proper preparation is key to a smooth and stress-free new roof installation. While we handle the heavy lifting, a few steps on your part can make a big difference.
First, understand your project timeline. Most residential roof replacements take one to three days, though weather can cause delays. We’ll keep you updated throughout the process.
Here’s how you can prepare your property:
Clear Access Points: Move your cars from the driveway to make room for our trucks and debris dumpster. Ensure any gates to your backyard are open uped.
Protect Outdoor Items: Relocate patio furniture, grills, potted plants, and other decorations to a safe distance from the house. We will use tarps to protect landscaping, but moving smaller items is the safest option.
Ensure Pet and Child Safety: A roof installation is a noisy construction zone. For their safety and comfort, we strongly recommend arranging for pets and young children to be away from the home during work hours.
Secure Your Interior: The vibrations from roofing can shake items loose. Temporarily remove pictures and fragile decorations from walls, especially exterior ones. Also, cover any items stored in your attic with tarps to protect them from dust and small debris.
Inform Your Neighbors: A quick heads-up about the noise and timeline is a courteous gesture that can prevent any issues.
A couple of final tips: cut your grass short before we arrive to make finding stray nails easier during cleanup, and trim any tree branches overhanging the roof for crew safety and to protect your new shingles. With these steps, you’ll be ready for a seamless installation and the peace of mind that comes with a new roof.
The Step-by-Step Guide to Professional Roof Installation
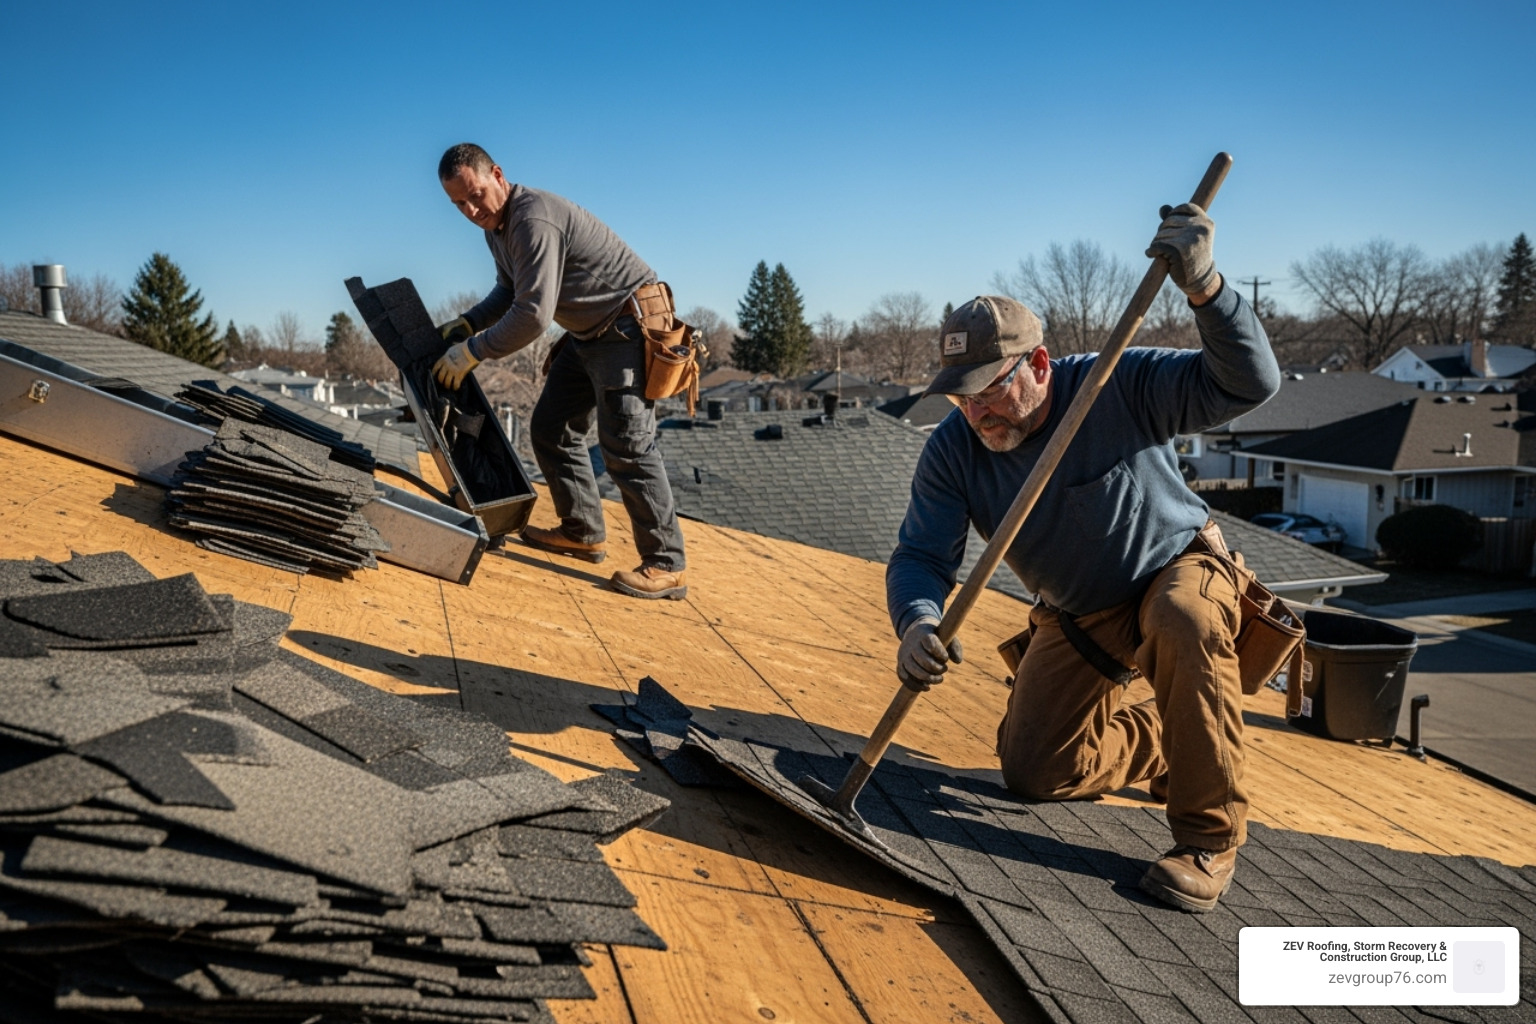
A professional new roof installation is more than just laying shingles; it’s about building a complete, integrated system designed to protect your home for decades. Safety is our top priority, and our crews use fall protection and follow strict protocols throughout the process.
Step 1: Removing the Old Roof and Inspecting the Decking
The process begins with the tear-off. Our team systematically removes all old roofing materials, from the shingles down to the felt paper, channeling debris directly into a dumpster to keep your property clean.
Once the old roof is gone, we conduct a critical roof decking inspection. The decking (usually plywood or OSB) is the foundation of your roof. We carefully check for water damage, rot, or sagging. Any compromised sheathing is replaced to ensure a solid, smooth surface for your new roof. This step is non-negotiable for a long-lasting installation.
Step 2: Installing Underlayment and Flashing for Protection
Next, we install the protective layers that work behind the scenes. We begin with a self-sealing ice and water barrier in vulnerable areas like eaves and valleys. Then, a synthetic underlayment is rolled out over the entire roof deck, acting as a secondary water-resistant barrier. A metal drip edge is installed along the roof’s perimeter to direct water into the gutters.
Flashing installation is where true craftsmanship shows. We install custom metal flashing around chimneys, vents, skylights, and in valleys to prevent water from seeping into these critical transition points. Proper flashing is a hallmark of a high-quality, leak-proof roof.
Step 3: The New Roof Installation and Ventilation
This is when your home’s new look takes shape. We start by installing starter shingles along the eaves to create a sealed edge. Then, the main shingle installation begins. We use chalk lines to ensure perfect alignment and follow manufacturer specifications for nailing—improper nailing is a leading cause of roof failure in storms.
After the main field of shingles is complete, we install a ridge cap to seal the peak of the roof. Finally, we ensure proper ventilation. A balanced system of soffit vents (for air intake) and ridge vents (for exhaust) allows your attic to breathe. This prevents heat and moisture buildup, which protects your roof structure and improves your home’s energy efficiency.
Step 4: Final Cleanup and Post-Installation Inspection
Our job isn’t finished until your property is spotless. Site cleanup involves removing all old materials and debris. We then perform a magnetic nail sweep of your yard, driveway, and garden beds to find and remove stray nails.
The final step is a final walk-through with you and our project supervisor. We’ll review the work, explain the features of your new roofing system, and answer any questions. This workmanship check ensures your complete satisfaction and that your new roof meets all local building codes and our high standards.
Understanding the Costs and Choosing the Right Materials
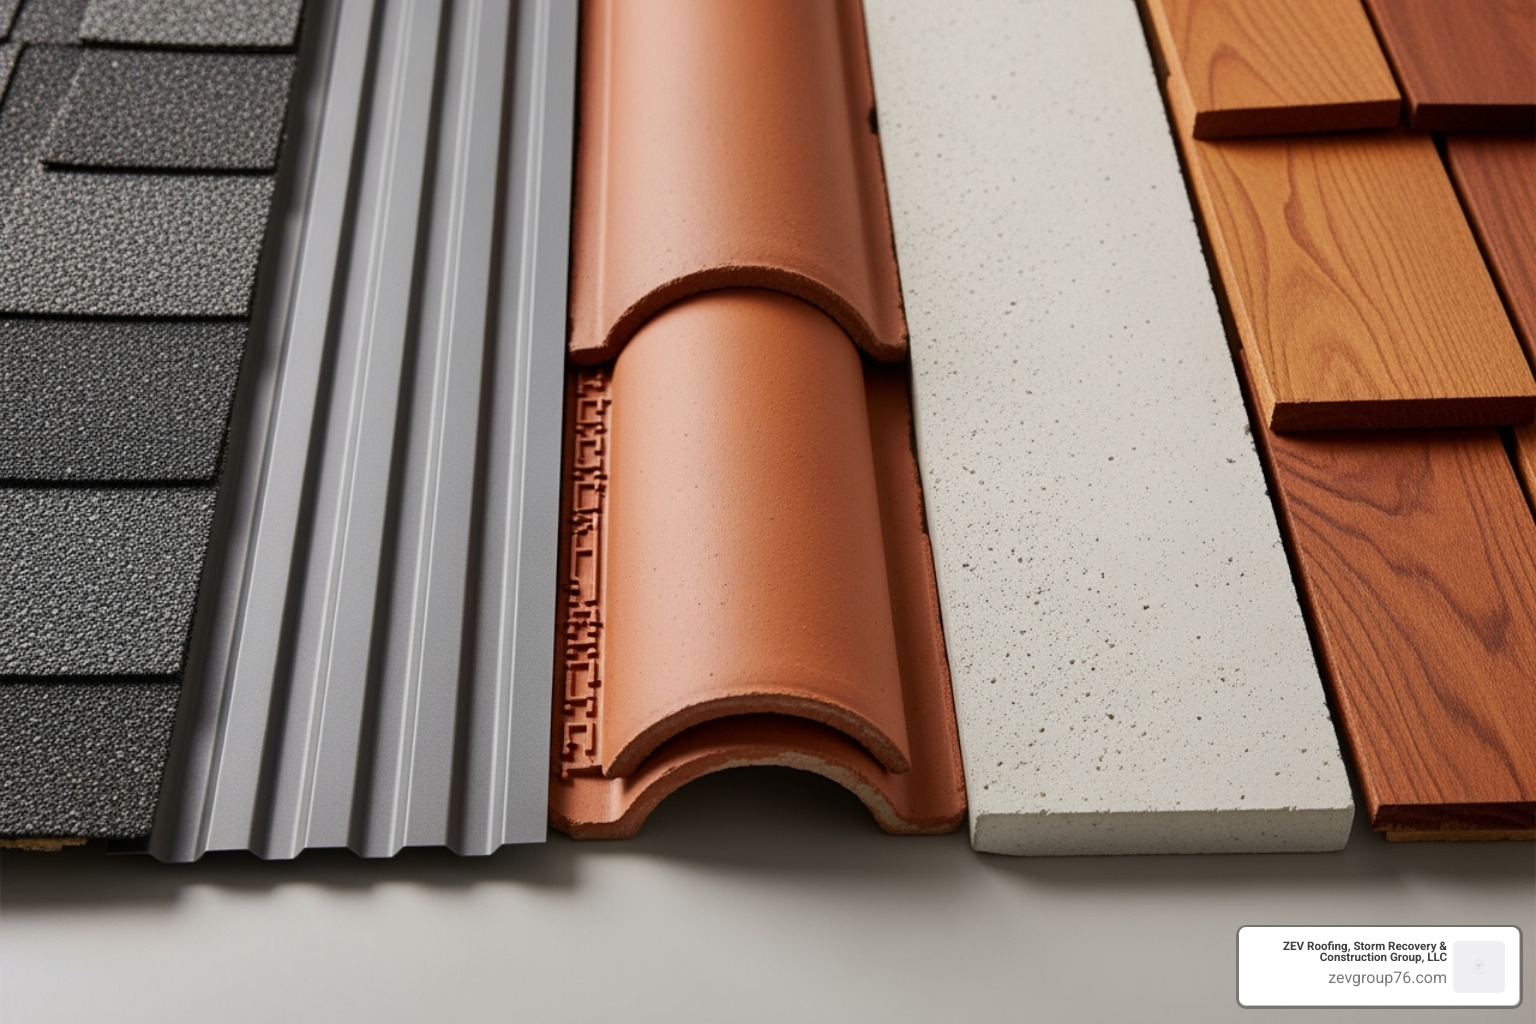
One of the first questions homeowners ask about a new roof installation is, “What will it cost?” The final price depends on several factors, but understanding them helps you budget effectively. For more details on our specific offerings, you can always explore our services.
Factors That Influence Your New Roof Installation Cost
The total cost is a combination of materials and labor. Key factors include:
- Roof Size and Complexity: We measure roofs in “squares” (100 sq. ft.). A larger roof naturally costs more. The roof pitch (steepness) and height of your home also impact the cost, as steeper or taller roofs require more time and safety equipment.
- Material Choice: This is the biggest variable you control. Materials range from budget-friendly asphalt to premium slate, with significant cost differences.
- Labor Costs: Typically about 60% of the total cost, this covers our skilled crew, insurance, and equipment.
- Other Costs: These can include permit fees, the cost of removing and disposing of the old roof, and any necessary repairs to the underlying roof decking.
Comparing Popular Roofing Materials
Choosing the right material involves balancing cost, longevity, and aesthetics.
- Asphalt Shingles: The most popular choice, costing $3.50 to $6.00 per sq. ft. installed. They offer a 20-25 year lifespan and come in many styles, but are less durable than other options in severe weather.
- Metal Roofing: A durable, energy-efficient option with a 40-70+ year lifespan. At $6.00 to $24.50 per sq. ft., the upfront cost is higher, but it requires minimal maintenance and is highly resistant to fire and rot.
- Tile Roofing (Concrete/Clay): Lasting 50-100+ years, tile is beautiful and fire-resistant. It costs $6.30 to $12.30 per sq. ft. but is very heavy and may require structural reinforcement.
- Wooden Shakes: Offering a rustic look, these cost $6.00 to $9.15 per sq. ft. and last 25-30 years. They require more maintenance and are less fire-resistant unless treated.
- Slate Roofing: A premium material lasting 75-150+ years. It’s fireproof and low-maintenance but is very heavy and expensive, at $23.49 to $31.77 per sq. ft., requiring specialized installation.
How to Choose the Right Roofing Contractor
Selecting the right contractor is as crucial as choosing the right materials.
- Check Licenses and Insurance: A reputable contractor must be licensed and carry both general liability and worker’s compensation insurance. Ask for proof.
- Read Reviews and Check References: See what past customers say on Google and the Better Business Bureau. Ask the contractor for references you can call.
- Get Multiple Detailed Quotes: Aim for at least three quotes to compare. Be wary of unusually low bids, as they often lead to cut corners or hidden costs.
- Understand Warranties: Look for strong warranties on both materials and workmanship. We offer a 10-year craftsmanship warranty and work with manufacturers to provide long-term material warranties.
- Review the Contract: Ensure the contract clearly details all materials, the timeline, payment schedule, and warranty information before you sign.
Focus on experience, reputation, and trust over just the lowest price. The right partner for your new roof installation will educate you and stand behind their work for years to come.
Conclusion: Protecting Your Investment for Years to Come
Congratulations! You’ve made it through the essentials of a new roof installation. This project is one of the most significant investments you can make in your home’s safety, value, and future. By recognizing warning signs, preparing your property, understanding the installation process, and choosing the right materials and contractor, you’re ensuring decades of protection.
After installation, be sure to complete your warranty registration with the manufacturer. This simple step protects your investment for its full lifespan. The benefits of a new roof extend beyond just staying dry; you’ll enjoy improved curb appeal, better energy efficiency, and a significant boost in long-term value.
At ZEV Roofing, Storm Recovery & Construction Group, LLC, we’ve seen the costly results of cutting corners or delaying a needed replacement. That’s why we are committed to expert craftsmanship and a customer-focused approach to every project in Texas and New Mexico.
Severe weather can strike unexpectedly. If your roof has been damaged by hail or high winds, a professional assessment is your first step toward recovery. We are experts in storm damage repair and can guide you through the process.
Learn more about our storm damage repair services
Your home deserves the best protection, and you deserve the peace of mind that comes from knowing your family is safe. That’s not just our job—it’s our promise.